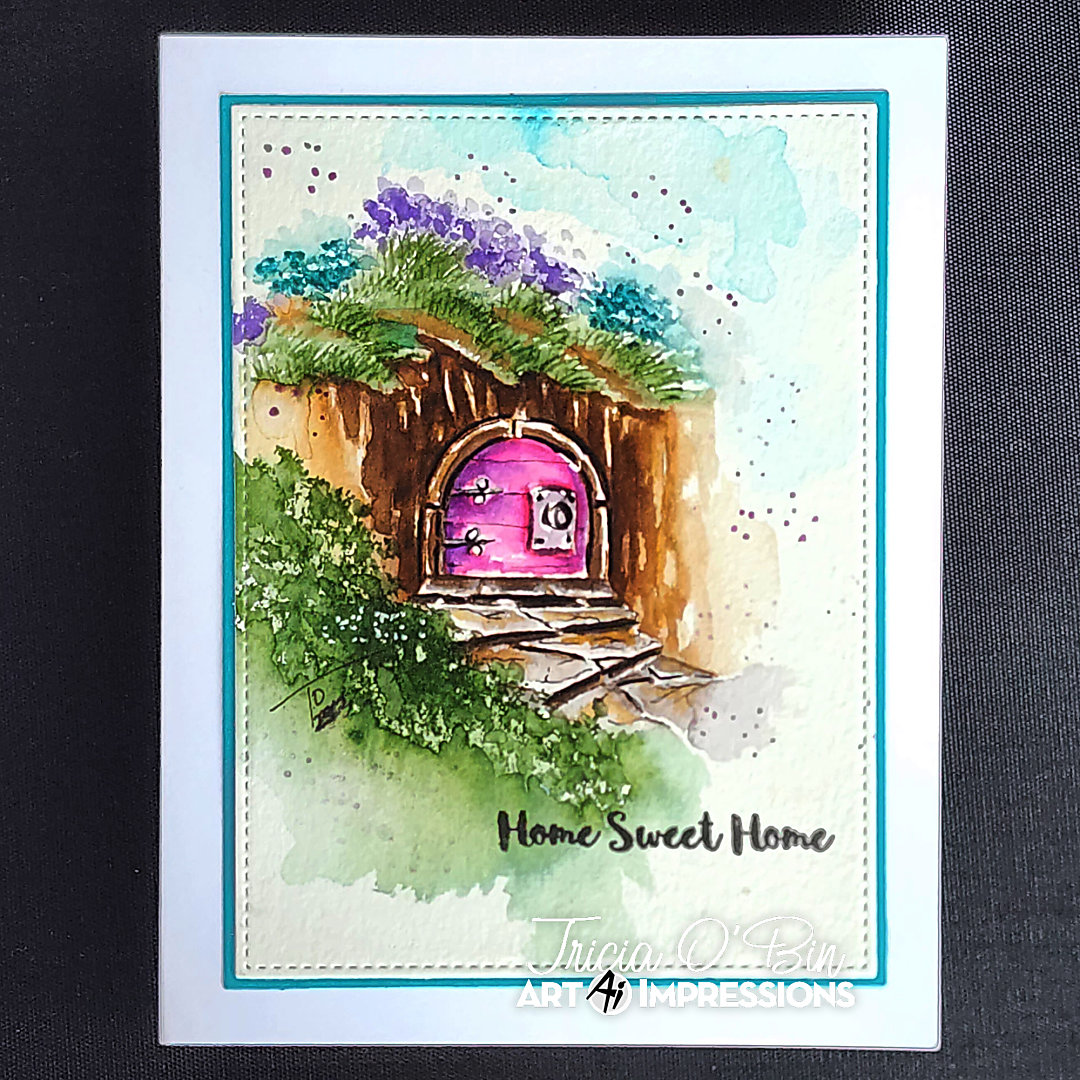

Hello watercolor fans, welcome back! This weekend I chose a stamp set from 2018, the Hobbit Door. I really wanted it to feel like the house was under a dirt mound. This is always such a fun set to play with. Here’s how I created this Hobbit House with an unusually bright pink door (why not? Right, it’s just too fun).
The Painting
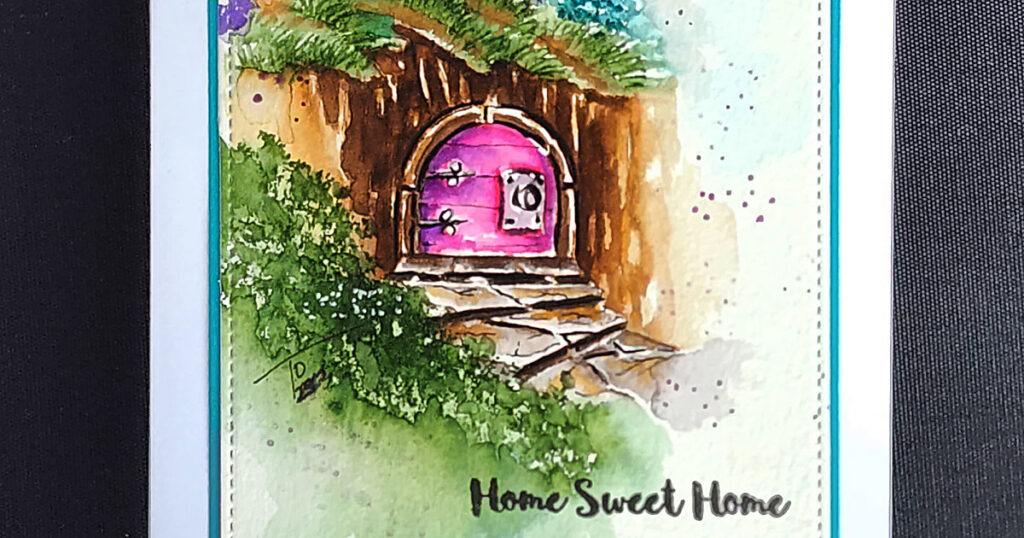
First, I started off by inking the Hobbit Door with 969 and 569 (along the stairs, door hinges and door handle). I did NOT stamp it off as I wanted to make it pretty dark. I stamped it onto the watercolor paper. Next, I masked it off using some Post It tape to protect it from the stamping of the cliff above it. I inked the short cliff up with 177 on top and 969 on the bottom, and stamped it above the door.
Next, I pulled the color out of the lines beneath the tops of each of the stones, layering additional color on top for character. Just to vary the stones a bit, I added a small amount of yellow on top. When it was dry, I added some cracks with my black Twintone marker.
I pulled the color out of around the outside of the door and down from underneath the grass. You need to use layering to build the color up behind the door. I added a wash of green to the top of the grassy area. Once it was dry, I stamped some grass along the ridges on top of the cliff. I pulled the color out of the lines and added some brown in between. I used blue-green and purple to ink up the dots from the original flowers set to create the flowers on top.
For the door, I pulled additional color into the shadows and then layers pink and purple in varying shades to create depth. I was going to go realistic, but then thought “No” why not make it a pretty girl door. And I’m the artist, so that’s what I did. Lastly, I used the greenery from the original foliage set to create the bushes along the bottom. I added water to the flowers and foliage. I used some blue for the sky. I wanted it to really feel “watercolory” so I added a lot of water to the edges to fade them out. I pulled out my Kendra dots to add some dots in the background for a more whimsical look. I signed and dated it.
Check out my other hobbit house video here!
The Card
To create the card, I used a Gina K Designs die set to cut out the image and the mat (Gina K Turquoise Sea). Using my MISTI, I stamped “Home Sweet Home” using Gina K ink in the bottom left corner. I glued them all together using connect glue.
Thank you so much for spending some of your time with us, we love to see what you create! Make sure you tag us so we can be inspired by you!
SUPPLIES: