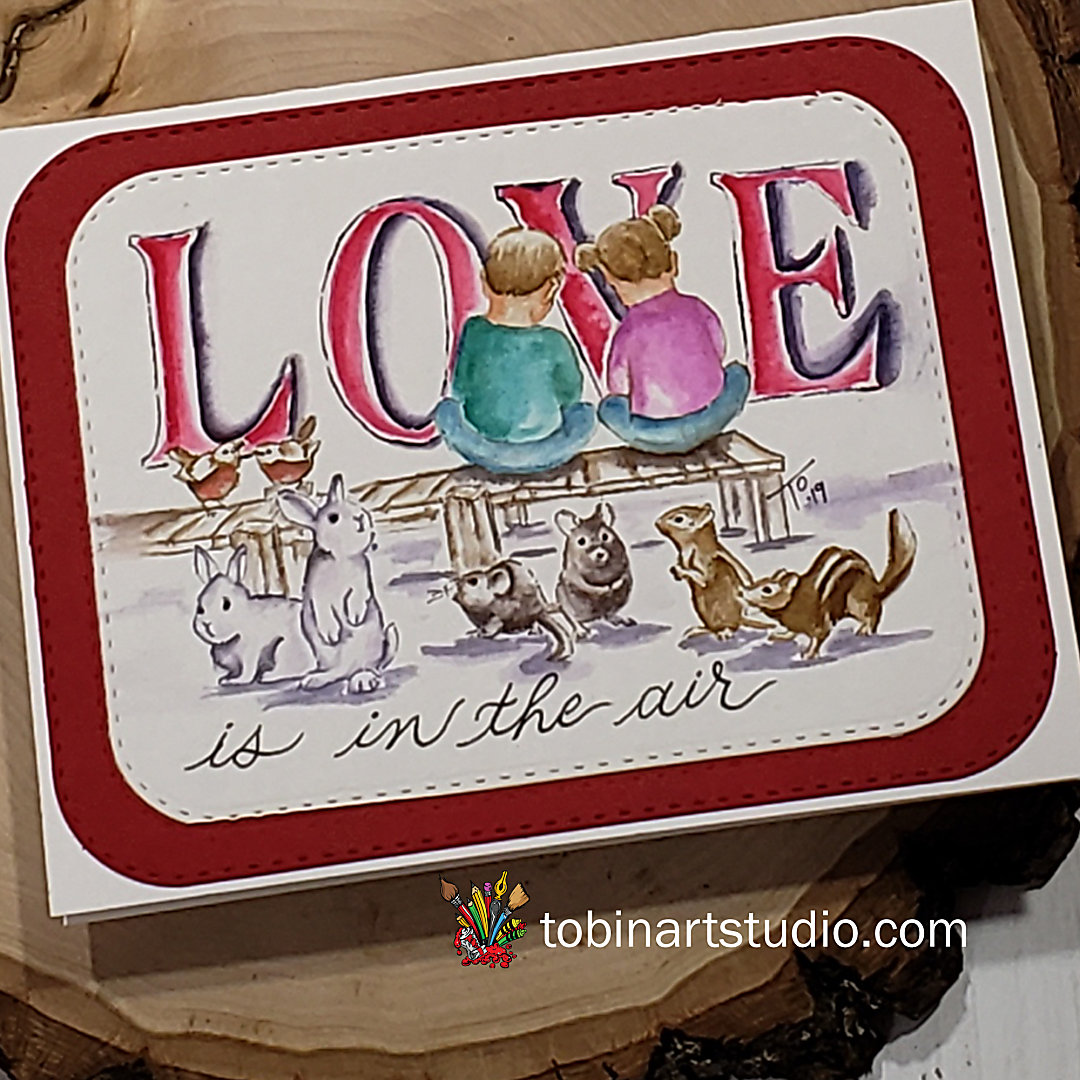
Welcome back watercolor fans! Today I am sharing a scene I created using some watercolor stamps from Art Impressions as well as a non-watercolor set. I wanted to create this Love Is In the Air card using all types of “couples”. These little animals were so cute! I did a video so you can create your own masked scene. If you want to watercolor along with me, click here.
Watercolor Details
Step 1 – The Animals
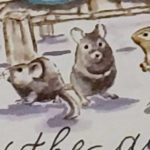
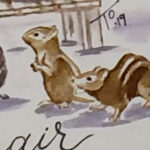
First, I inked up the rabbits up with the Tombow 569. I stamped it to the bottom left side of my watercolor paper. Next, I inked the mice up with the 969 and 569 which creates a nice gray color. In order for them to be a little lighter, I stamped it off first. Then, I stamped this into the middle of my watercolor paper. Finally, I inked the chipmunks up with 969 and stamped it on the bottom right hand side of my paper. I placed masks over each of the animal pairs.
Step 2 – The Kids
Using the mask I created for the pier, I placed it so I could determine where to stamp the boy and girl. In order to get them placed where I wanted them I used my stamp positioner. I removed the mask stamped the little girl on the right. I replaced the mask and positioned where I want my boy to sit on the pier, I removed the mask and stamped him down. I added masks to the girl and boy.
Step 3 – The Pier and Birds
I stamped the pier behind the animals and underneath the kids. I masked it and then re-inked and positioned it to the left to extend the pier. I stamped each of the birds and positioned them to the left of the kids.
Step 4 – Watercolor
I started by pulling the color out of the kids. Next, using just my brush and water, I pulled the color out of the birds. These birds are really small, so I try not to use a lot of water. If I don’t have enough water, I slowly add water until I am happy with the results.
Then I pulled color out of the rabbits. The 569 marker, much like the Marvy African Violet is very pigmented, I usually stamp it off. It only requires a very small amount of water to pull out the color. Once I soften those lines, I added additional color from my palette. On the bunnies, they are white so its important to just highlight the shadowed areas.
I repeated with the mice, chipmunks and pier. Make sure to use the fine tip of the marker to darken in the eyes. I added some additional color underneath the kids for a shadow. I also added some 569 below the pier and animals to ground them.
Step 5 – Love
I lined up the word Love which I wanted to show behind the kids and birds. I placed it on a block and inked it up with 569. I stamped this down. From my palette, I added color to the kids.
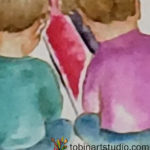
I pulled the color out of the words “Love”, only on the right side. I then added some 847 to each of the letters.
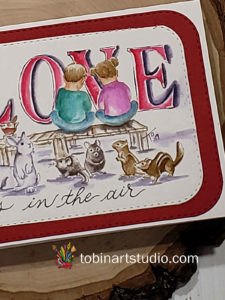
Don’t forget to sign your work, I keep doing that lately LOL.
Once I was done with my watercoloring, I wrote in the “is in the air” at the bottom. I cut it along with a piece of Gina K Design Red Hot card stock with my Rounded Rectangle die. I added this to a white card base.
I am so happy you stopped by and I hope you give this a try. If you do, tag us on Instagram (#AIWatercolor, #AIStamps).
Check out the video here.
