


")


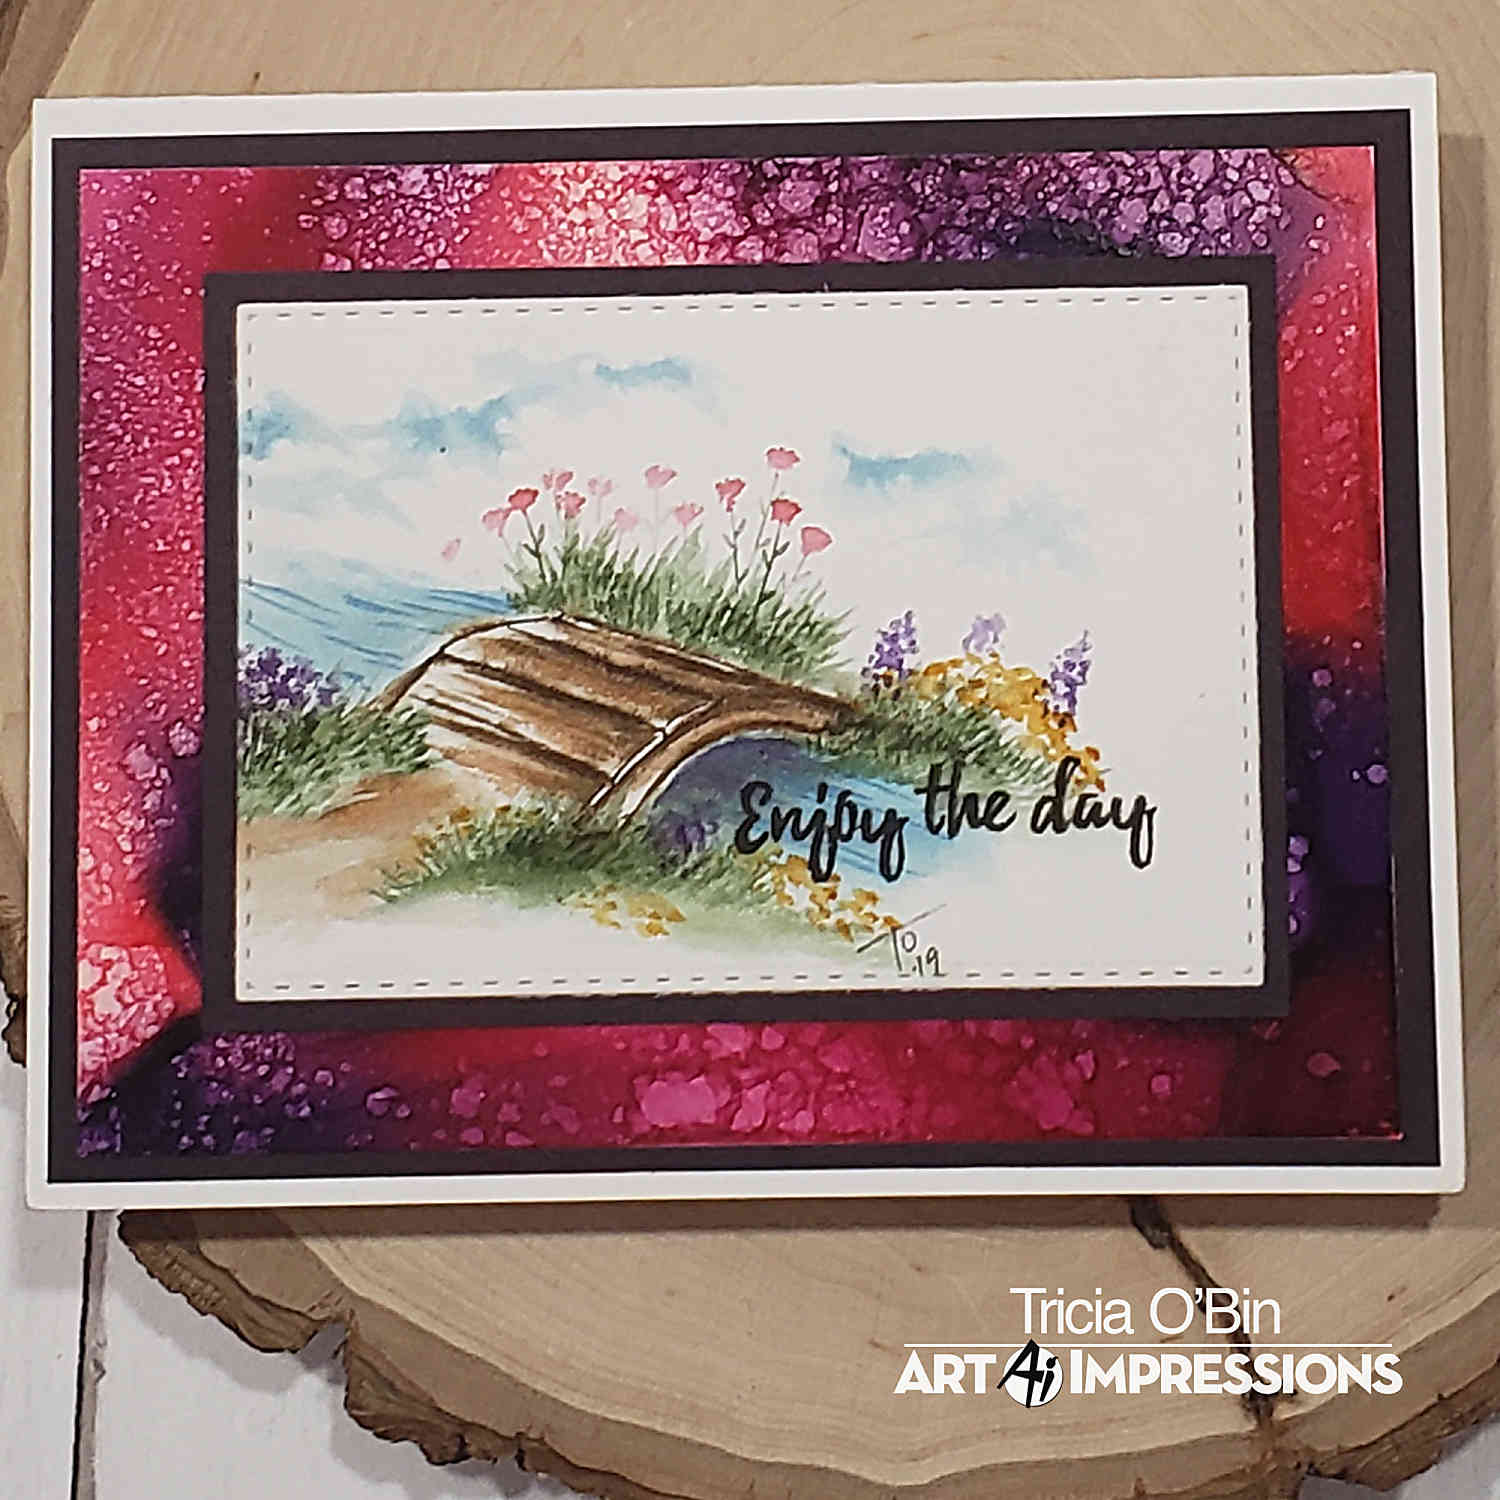
I love these bridges. They are so quaint and you can use them in so many ways for any occasion. I challenge you to pull out your bridges, flowers and foliage and give it a try, I know you will love them too!! I loved creating this Spring Bridge because it was so easy and fun to make.
Project Details
Step 1: Ink the bridge from the 5131 – Stone Path Set with 969 – Chocolate. Stamp it slightly to the left. Using your brush, pull the color out of the right side of the bridge leaving a highlight on the left side and fading the color from right to left. Stay within each board section. Using the fine tip of the 969 – darken in between the boards. Pull some of the brown into the foreground in front of the bridge.
Step 2: Scribble some 528 – Navy Blue on your palette. Slowly lay down layers of color under the bridge and to the left of the bridge. Keep your color darker underneath the bridge. Add some darker color in lines to create movement.
Step 3: Ink up the small grass from the 4051 – WC Foliage Set 1 with 177 – Dark Jade. I used my post it tape to mask off the top right of the bridge and stamped my grass by walking the stamp to the right. I added more grass to each corner of the bridge. Using a damp brush, pull the color up and out of the grasses. Pull some of the color underneath the clumps of grass to ground them.
Step 4: I inked up the single flower from the 5074 – Bible Flower Set using 177 – Dark Jade & 847 – Crimson and stamped it several times. I softened just the blooms with a damp brush. I inked up the small dots from the same set using 993 – Chrome Orange and stamped it a couple of times on each side of the water to the right of the bridge. Finally, I inked up the dots in the shape of a cone from the same set with 636 – Imperial Purple and stamped them around the bridge. I softened them with a damp brush.
Step 5: I used the left over ink from my palette (528), watered it down and added it to the sky. I signed my painting.
I cut it with my stitched border die and mounted it on a piece of Gina K Designs Black Onyx card stock. I added that to my mounted background. I used Yupo paper and Copic Marker Refills to make the background. I mounted the entire piece onto a 4.25 x 5.50 note card.
Related: Hanging Spring Basket | Watercolor Weekend | Art Impressions Stamps
I loved making this piece and I hope you will give it a go! Thanks for stopping by and have a crafty day!!
SUPPLIES: