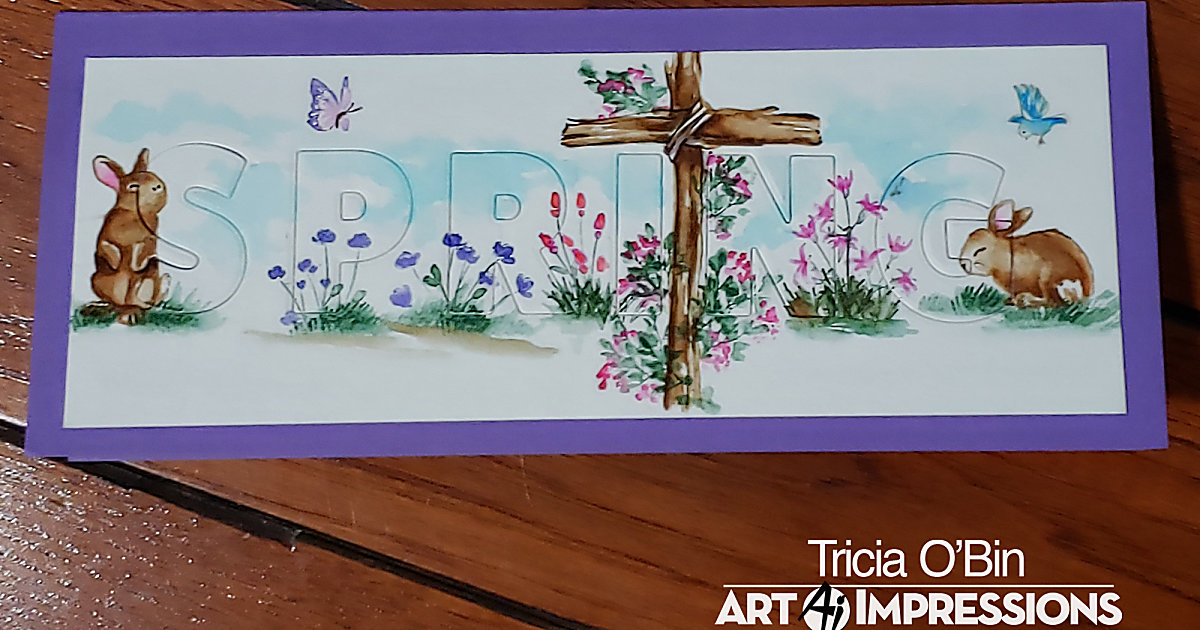
Who is ready for Spring? Well I am now that all the snow is gone. I love the trees are all getting buds and flowers are getting ready to spring into action (pun intended). I decided to try one of the slimline cards that seem to be all the rage lately. I used my watercolor stamps and alphabet dies to create a fun Spring Easter Blessings card. Stick around and I will tell you all about it.
The Die Cutting
To start off I cut my watercolor card down to 2 7/8 x 7 7/8. I wanted to make sure I wasn’t going to have to cut it down after I was done. Next, I lined up my alphabet dies spelling out Spring onto my glass mat, added purple tape across the letters to hold them together, lined them up and ran them through my die cutting machine. I am going to leave the letters in the piece for now.
The Water Coloring
Now I will start water coloring the scene. To start, I used my Rugged Cross stamp, inked up with 969 and stamped it in between the “I” and “N” in Spring. I used water and pulled the color slowly out of the sides and bottom of the cross, this creates a really nice dark shadow. Using brush strokes I added additional color to the cross to create a wood effect with lighter and darker areas. Make sure you are leaving white space to create a more realistic three dimensional look.
Once the cross was completed, I added some vines using the vine from the Original Foliage set inked with 249. You don’t have to use a lot of greenery on the cross to get your point across, sometimes less is more. I used the small dots flower inked with 815 and stamped it several times around the foliage. I added water to the leaves and flowers.
On the right side, I stamped the sitting bunny inked with 969, pulled the color out of the lines and added a small amount of 815 to the bunny’s ear. Next, I inked the standing bunny and stamped him on the left side of the card. I placed the bunnies this way so they were facing towards the middle of the card.
In order to ground the bunnies, I inked the small grass and inked it up with 249. I pulled the color up and out of the lines. Using the same grass, I added it in several areas beneath the “P” and “R”. Again, I pulled the color up and out. Next, I inked up the left and right flowers (not sure what they are called, they look like tulips to me) with 249 and 606. I didn’t ink the entire stamp, just about halfway (I’m lazy and didn’t want to mask it off, LOL). I added water to just the blooms (sometimes I like to add a little more color from my palette to the bottom of the blooms for more dimension).
It looked a little off balance, so I added some more grass to the right side under the “N”. I inked up the lilies with 815 and 249 (again, not all the way down). I added some blue to my palette with a lot of water and painted in the sky around the letters and cross. Make sure to leave enough white space for your butterfly and bird if you want to include them in your design.
I inked the bird up with 969 and stamped it off 3 times so that it would be really light. I added some additional blue to the bird, layering to get some darker values. I inked up the butterfly with 3 different colors. The body with 969, and then added 815 to the wings and layered 606 on the edges. I stamped it and using my #1 Paintbrush to pull some of the color out of the lines. So, as you can see I forgot to sign and date my work (I have subsequent to typing this blog post.) So, don’t forget to sign your original artwork!
The Assembly
I cut a card base of Wisteria card stock from Gina K Designs 7 x 8 1/2 scored at 3 1/2. I added some Connect Glue from Gina K Designs to the back of the watercolor piece and added it to the card base. Next, I added glue to each letter (including the middle of the “P” and “R”. I inlayed them into their spot.
Easy peasy right? I know it’s a little more than that but I have complete faith that you can do this project. Try something new, you never know until you try right? When we try things out of our comfort zone we grow!
Thank you so much for spending a little time with me (or a lot, long post LOL). Don’t forget to head on over to the Art Impressions blog to see what my incredible talented teammates have created to inspire you even more.
Related: Spring Vase | Watercolor Weekend | Art Impressions
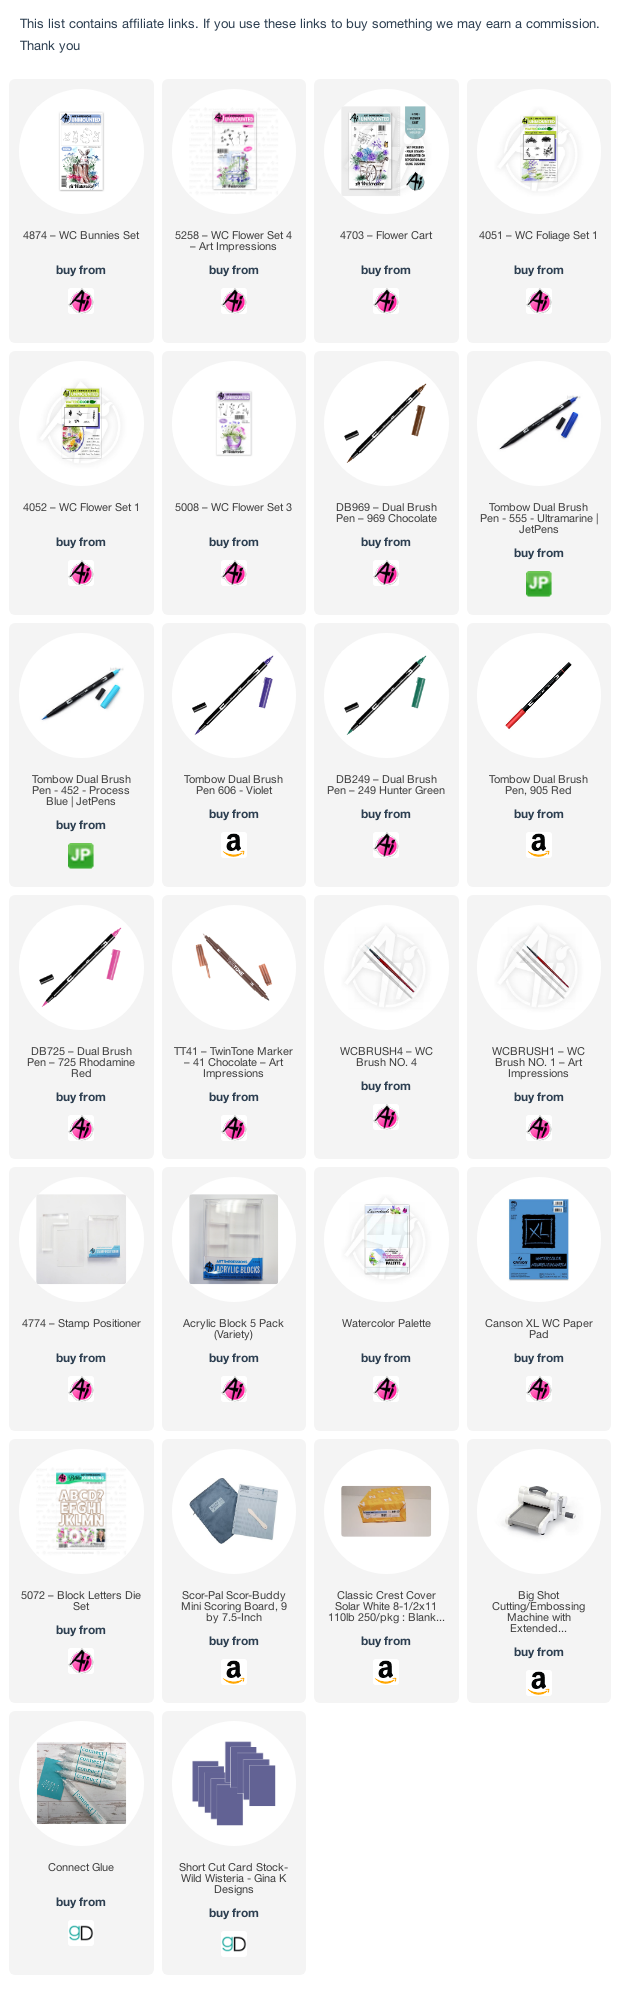
SUPPLIES: