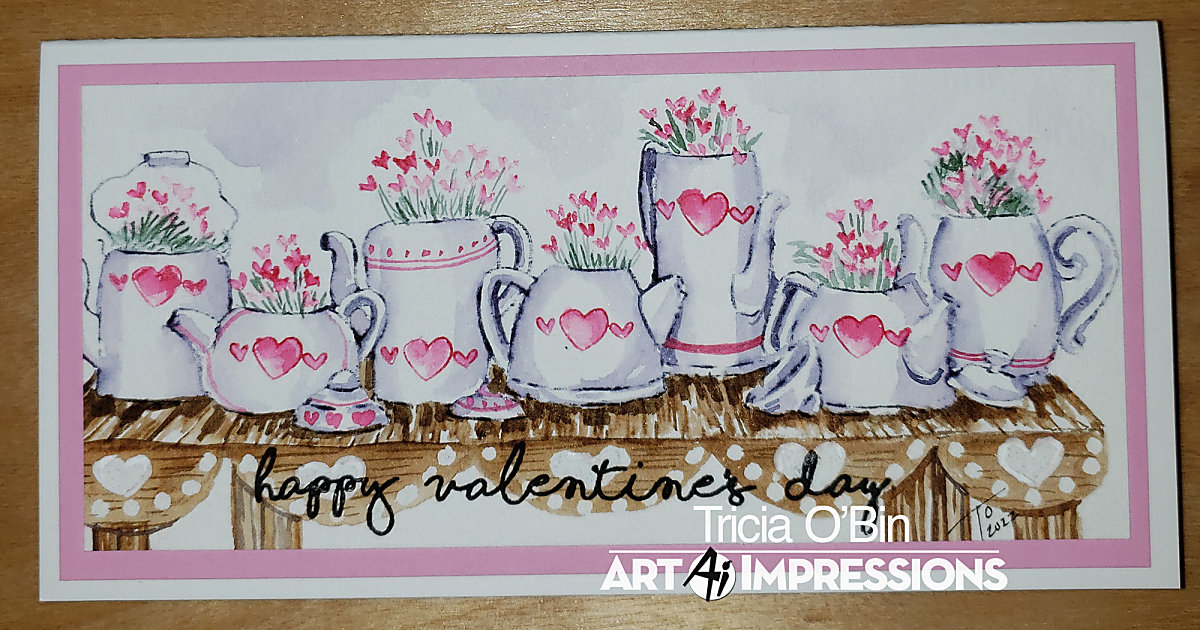

Welcome back watercolor fans. Today I have a sweet Valentine Teapots card to share with you. This was so easy and fun, you can create a bunch of Valentine cards for all your loved ones. This stamp is the perfect size for any slimline card.
Step 1 – The Teapots
Let’s started out by inking the teapots up with 569. You want to stamp this off once or sometimes twice depending on how much ink is on your stamp. The teapots are white so you just want enough color to create the shadows. With your brush, pull the color out of the lines but only where the shadows will be. If you have too much color on your brush, rinse and pinch it off. As you pull out the shadows, fade them out towards the middle of the teapots. The teapots are cylinder so they would be shadowed on the left and right with a highlight in the middle.
This set includes a couple of decorative stamps. I wanted this to feel really cohesive so I stamped the same heart onto each teapot inked in 725. You can also add some additional decorations.
Step 2 – The Table
Using my pencil and a ruler, I marked out the table. I knew I wanted to do it with a wood finish so the teapots would pop. For the front, I drew a few scallops. Before I started coloring the wood, I took some Molotow masking fluid and drew out the hearts and dots. Let this dry. Again, using my pencil I lightly drew in the slats of wood. Using 969, I colored the wood, making sure under the teapots was really dark. Once it was dry, I rubbed off the masking fluid.
Step 3 – The flowers
Again, to keep this as simple as possible, I added the small grass inked with 249 to a couple of the teapots, most I drew in the stems after I stamped the flowers. These flowers were perfect for this card. I used the hearts stamp from Flower Set 2 inked with the 725 stamped a few times into each teapot.
To finish off the card, using a bit of 569 and a lot of water, I added a sky behind the teapots. I signed and dated.
Related: Spring Vase | Watercolor Weekend | Art Impressions
Step 4 – The card
I cut the painting to fit on a mini slimline mat. I wished I had made this into a full slimline card. The mat is made with Gina K Designs Bubblegum Pink card stock. I added this to a mini slimline card.
Thank you so much for stopping by and spending a little time with me today. I hope you try out this project. Tag me on Instagram so I can see your projects!
![]()
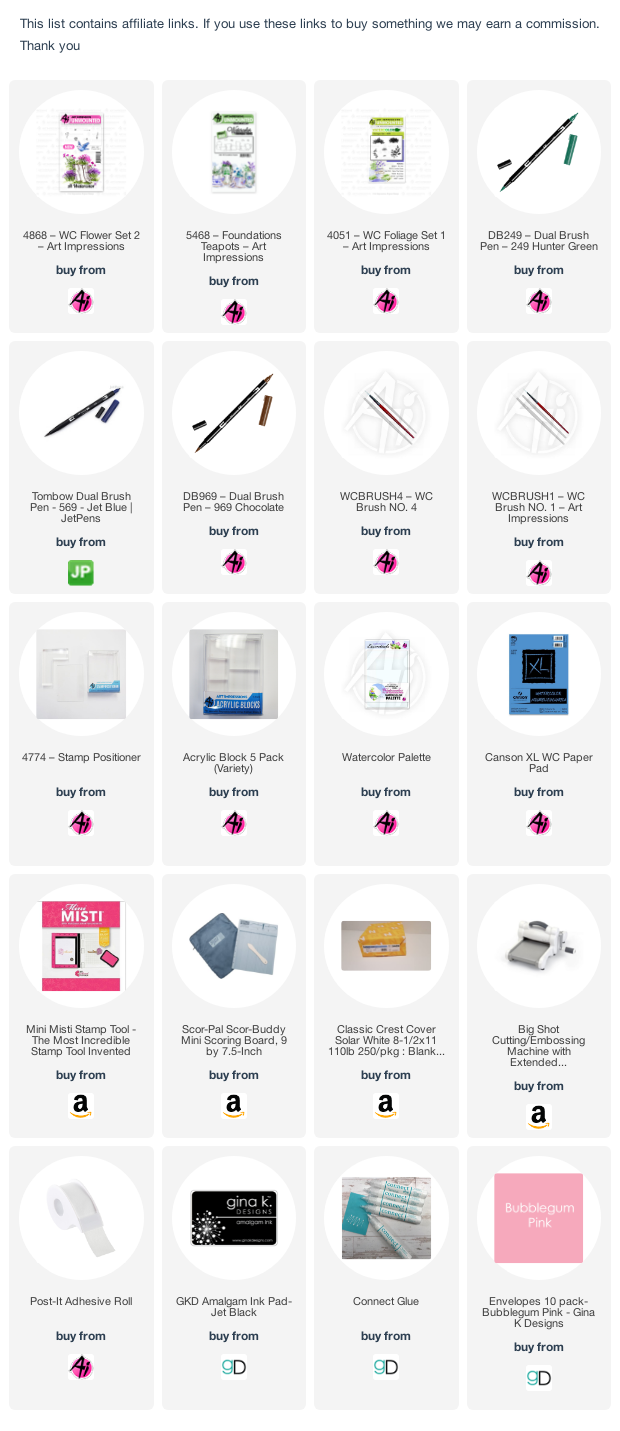
SUPPLIES:
Very striking with all white and the pint hearts. Love it.
Love this card it is so pretty