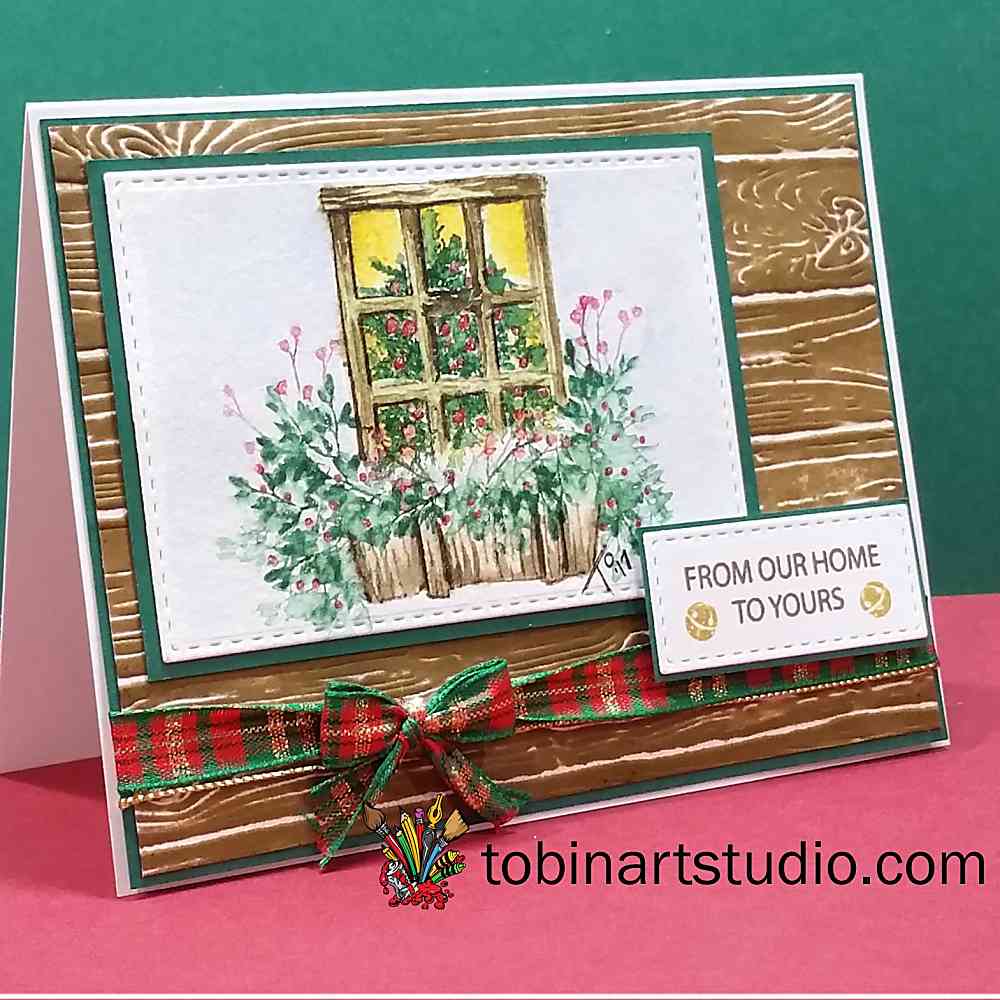
 Check out the video on how to create this watercolor Christmas window here.
I am starting to get into the Christmas spirit, how about you? It’s that time of year again where I need to get a jump on my Christmas cards. I send out about 60 cards each year and most of them are different (because I get bored easily, lol) so they take a bit of time. Today I thought I would video the creation of this Christmas Window. It was so easy and fun to do, I hope you will head over to my YouTube channel and check it out.
Let’s get started and I’ll tell you how I created my card!
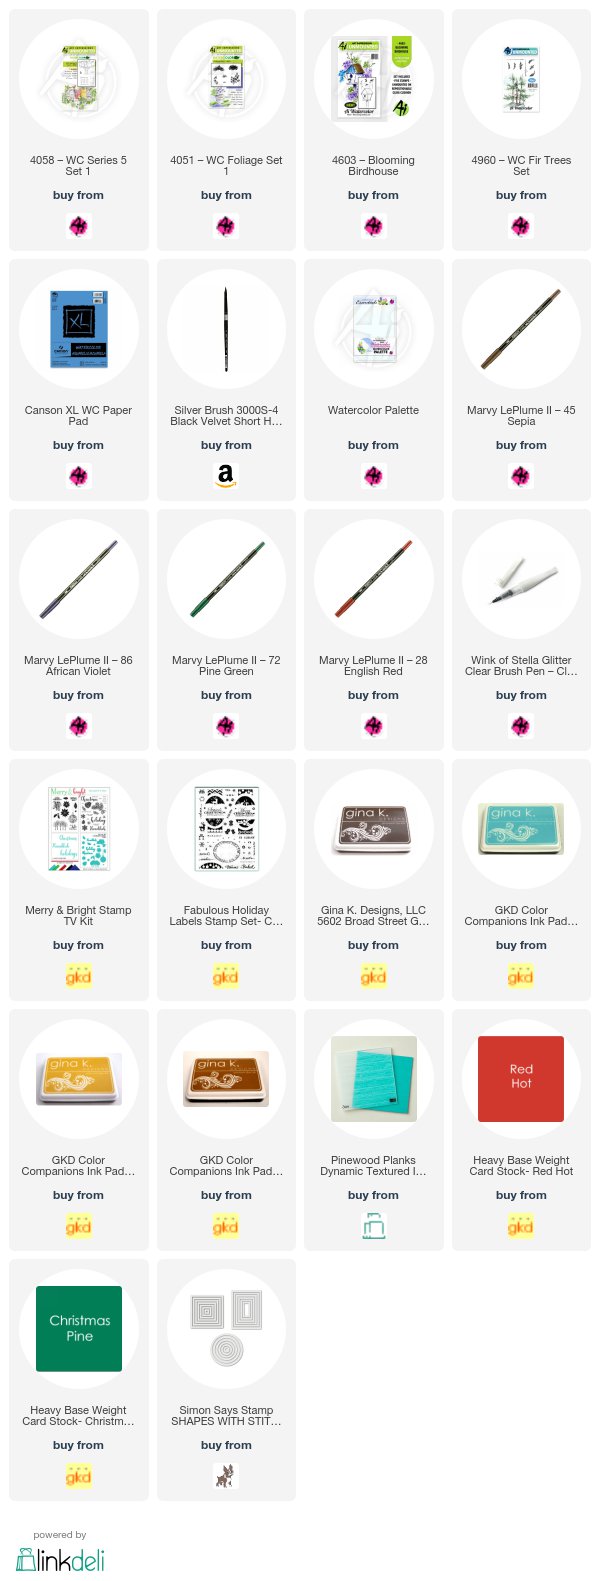
I started out by stamping my window in the center of the paper using Sepia. I drew lines on the window frame and window box to create the look of wood. I used my Molotow masking fluid to mask off the window frame in order to stamp the tree in the window.
I added African Violet to my palette and using my #10 brush and a lot of water, I created a background around the window. The window is on the outside of a structure so I was trying to make ground it so to speak. On the second example, I actually drew lines and used my African Violet behind the window.
I added Brilliant Yellow to the window panes to give the look of a warm light coming from inside of the house.
I used the vine to stamp the foliage into the window box with the Pine Green. I added water and stamped the branch with berries using Sepia and English Red. I used my English Red marker and added some additional red berries to the foliage.
Once the masking fluid was dry, I used the small Fir top to create my Christmas Tree. I added water to soften the lights and added ornaments/lights. Once that was dry, I removed the masking fluid with my adhesive eraser.
CARD DETAILS:
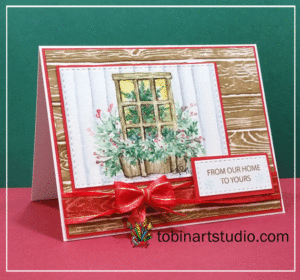
I cut the window out with a stitched rectangle die and mounted it to a mat of Red Hot cardstock. To create the background, I used a wood plank embossing folder from Stampin UP! and used Warm Cocoa ink using a pad direct to paper application and mounted it on another piece of Red Hot cardstock.
I stamped the sentiment from the Merry and Bright Stamp TV kit in Warm Cocoa ink. I cut it out with a stitched rectangle and attached it to a mat of Red Hot cardstock. I stamped the snowflakes with Ocean Mist ink and a stamp from the Fabulous Holiday Labels stamp set.
I added a gold rimmed red ribbon with a bow that I created with my bow maker and some gold twine. I attached the entire card to a white card base.
I did the same thing on the second card but used Christmas Pine cardstock and Dark Chocolate Ink. I used a jingle bell stamped in Prickly Pear ink from the same stamp set as the snowflake. I stamped the I love the plaid Christmas ribbon, I wish I could remember where it came from.
I added a bit of Wink of Stella to the ornaments/lights and the red berries to add a little bit of shine.
I look forward to creating more Christmas cards and focal images using winter themes. Check out my Instagram and Facebook pages too! Is there something you would like me to demonstrate? Leave me a comment and I will do my best!
Thanks so much for stopping by and I hope you will visit again soon!
Other videos you may enjoy: https://www.tobinartstudio.com/easy-watercolor-painting/
I’m looking for the window stamp.
That stamp was retired a few months ago. If you google art impressions wc series 5 set 1 4058 you can find some on ebay or amazon. HTH