
Hi Watercolor Fans – I am just loving the new Art Impressions Blog format! Check it out, we now each have our very own Sunday! This weekend it’s my turn, eeek!! I am so excited to be showcasing two cards that I made from the most recent new Art Impressions Watercolor Releases. Bonnie has outdone herself AGAIN. Here are my cards (make sure you scroll to the end) for this Sunday.
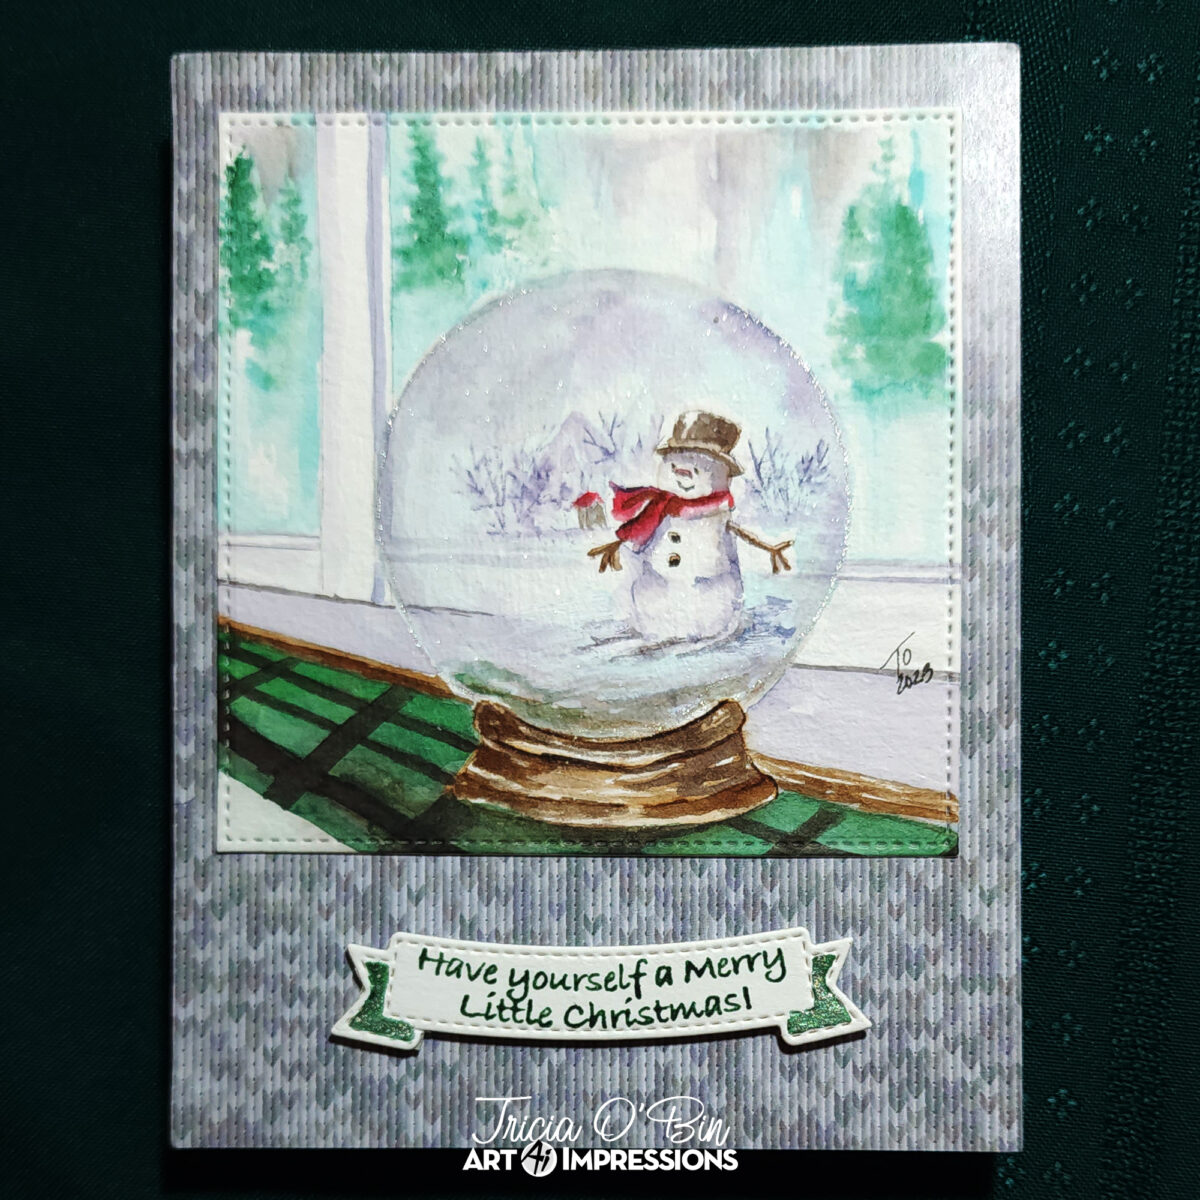
The Snow Globe
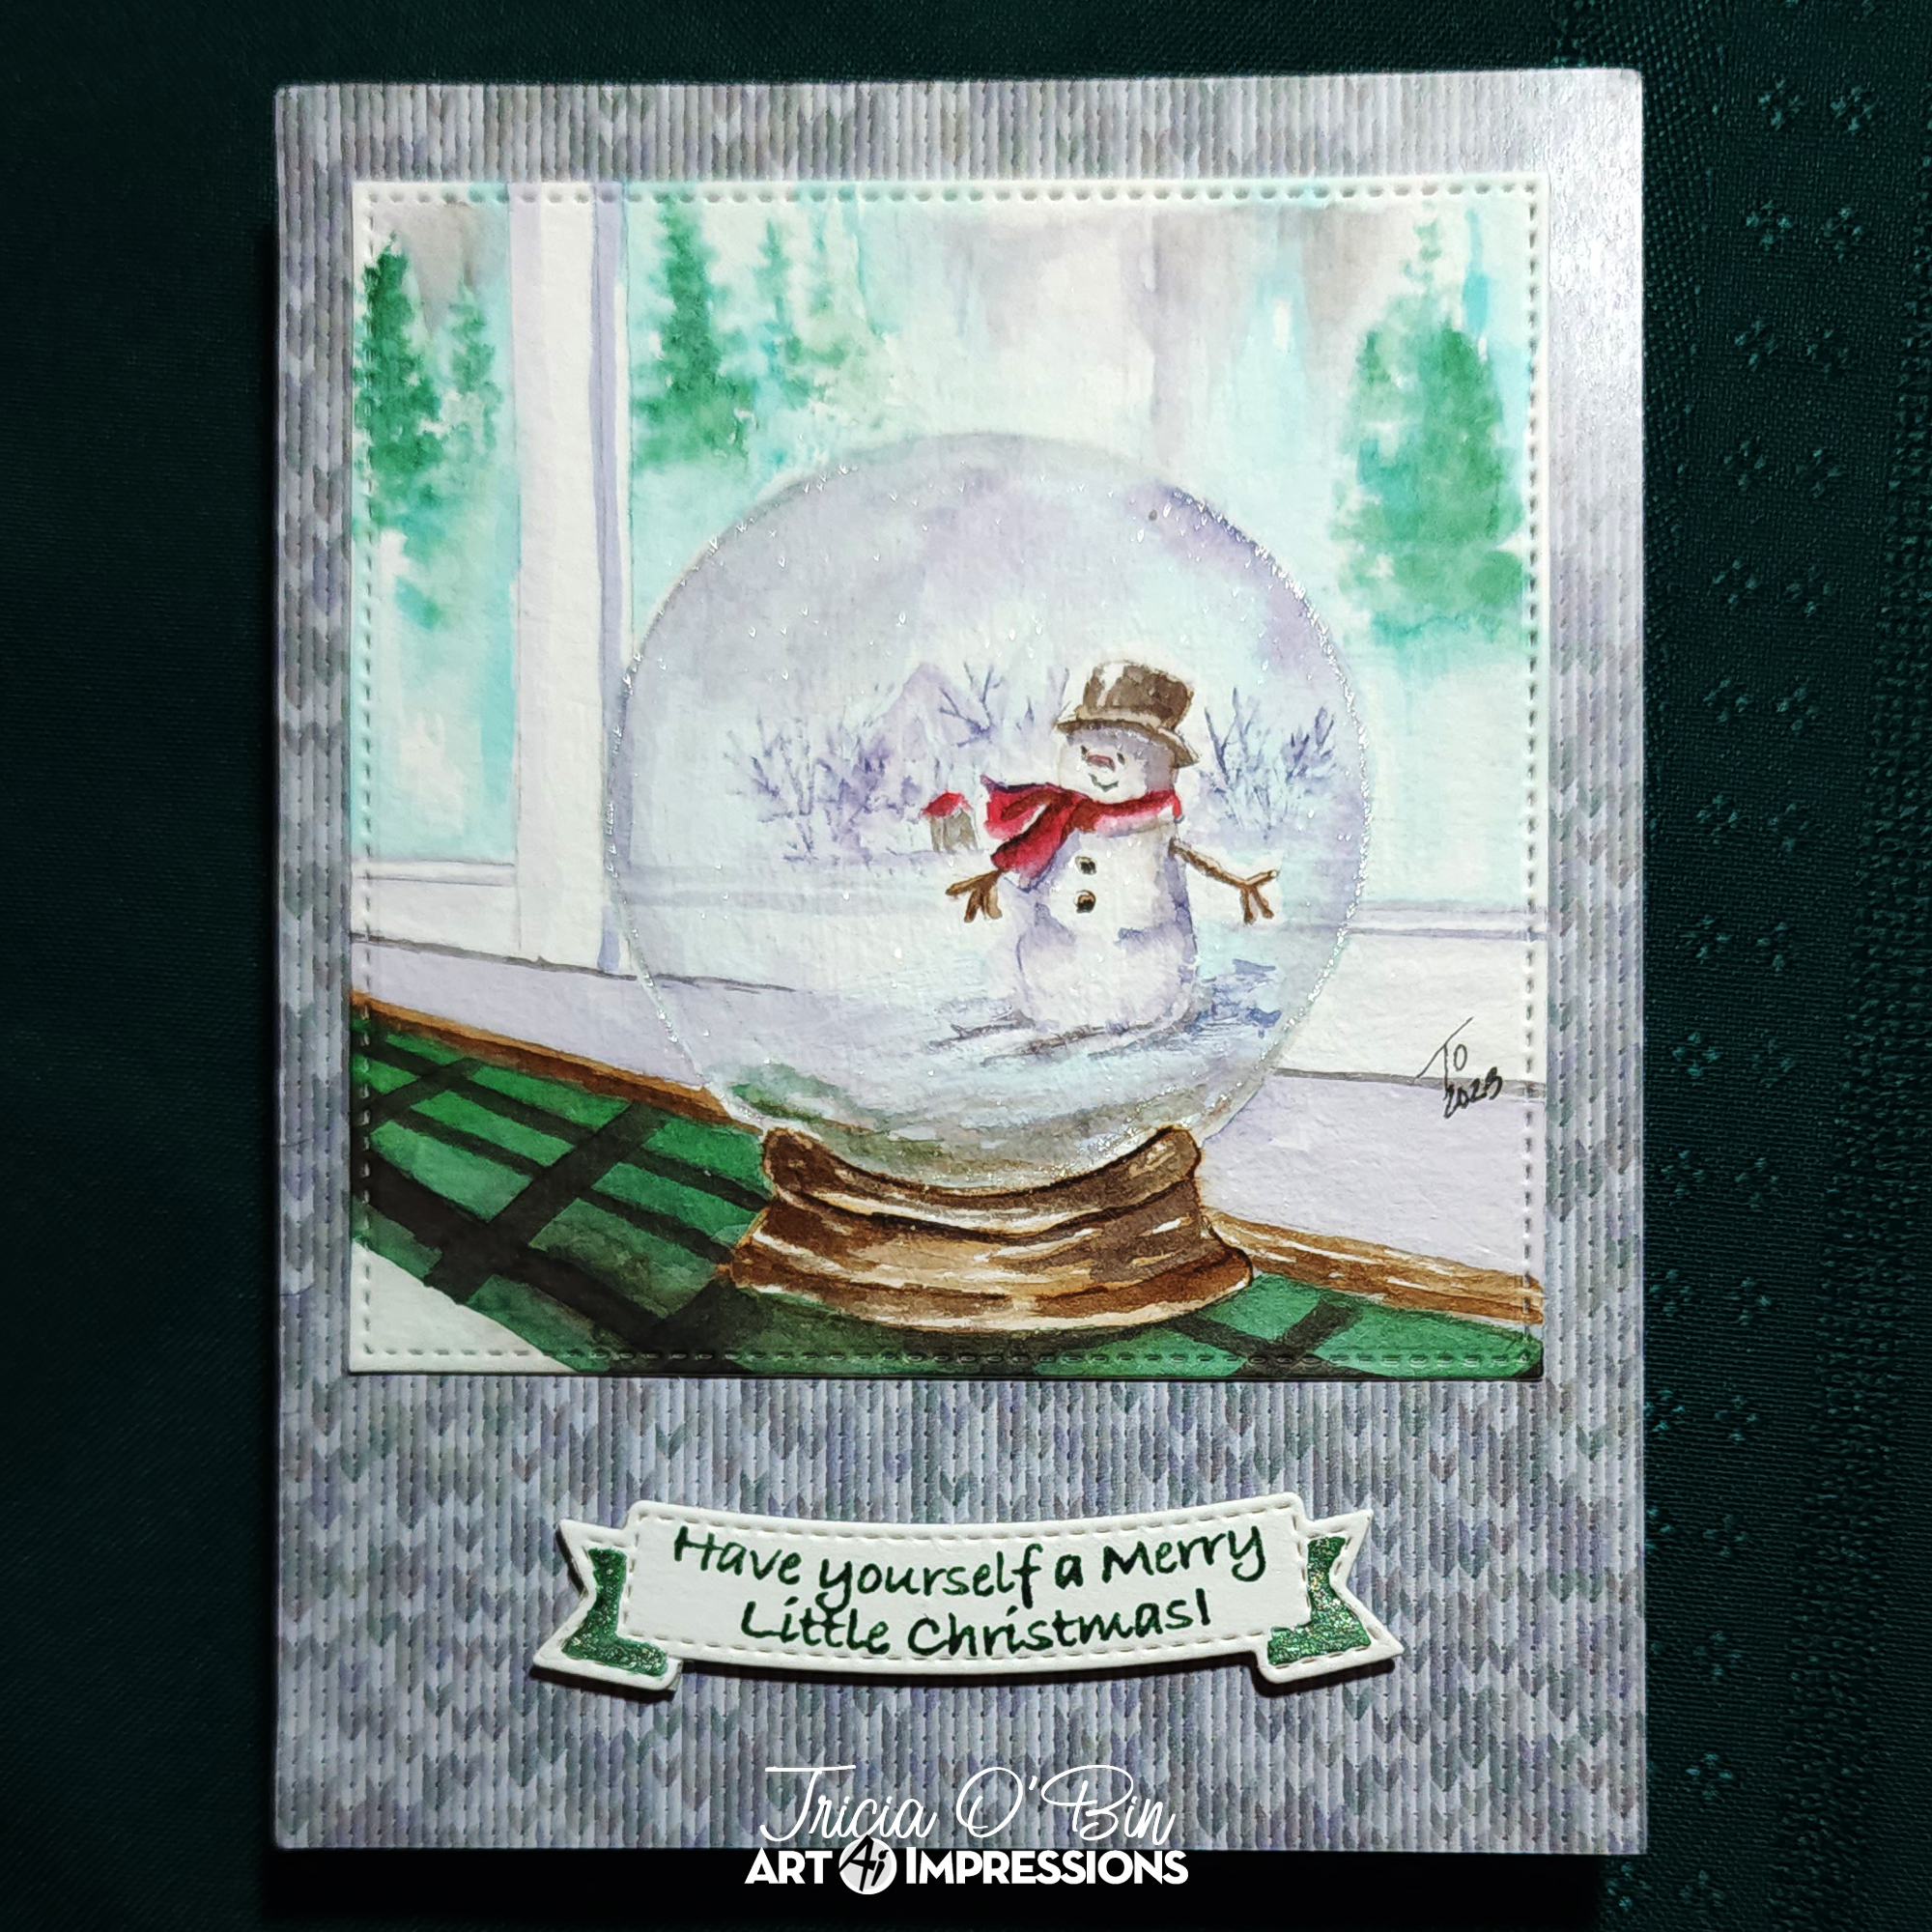
I knew I wanted this snow globe to be sitting in the window of someone’s house. Using the new Art Impressions Snow Globe stamp set, I traced around the outside of the circle die with my paintbrush loaded with light blue paint. I added water to keep it really light and to blend the lines. Be careful to remain really close to the sides of the glass, we can build the color up after we stamp our images.
For the base, I inked it up using 969 and stamped it beneath the globe. I added additional color from my palette. You want to follow the artist drawn lines when you paint in the base (if you are doing wood). By keeping dark shadows on the sides and underneath the globe, it gives a three dimensional illusion.
Next, I planned out my runner and window using a pencil. Once I was happy with the window, I added some color to the frame around the window and the runner. I added some 569 and 969 from my palette with a lot of water (wet-on-wet technique) to add grays and blues to the window. I stamped a couple of the trees from the set using 249 into the background while it was dry and some while it was wet for that blurred effect.
TIP: To differentiate the window from the globe glass, use downward strokes on the window and rounded strokes for the globe. Also varying the color of the blues to each, I used 569 & 969 (gray) and 493 light blue to the window and water, while using 565 and 569 to the globe with hints of 493 for reflection.
For the inside of the globe, I inked up the snowman from the set with 569 and then used 969 where I wanted a mix of color (hat, arms, face, buttons, scarf). I stamped him into the left third of the globe. Next, I masked him off and using some 569 and 606 stamped in the house and trees (stamped off several times). I used a little water to blur it. Using my palette, I added some additional color to his shadows, scarf, arms and hat. I also added some snow beneath him.
As soon as that was done and completely dry, I added a really light wash of color, inside the glass, extending the wall, window and some of the runner reflection into the globe. I also added some darker color to spots making sure everything was blended. I added a bit of wink of stella for some shine.
Once I signed and dated it, I cut this out with my rectangle dies and the new banner die from the Decorative Journal Pages 1. I added some 249 and wink of stella to give it some color 🙂 I added these to a patterned background. Check out all of the new releases on the Art Impressions website.
Rustic Bird House
This one is quick and easy but has a huge impact. It would be easy to mass produce this one for Christmas Cards. I used the Art Impressions Rustic Christmas Set for this one.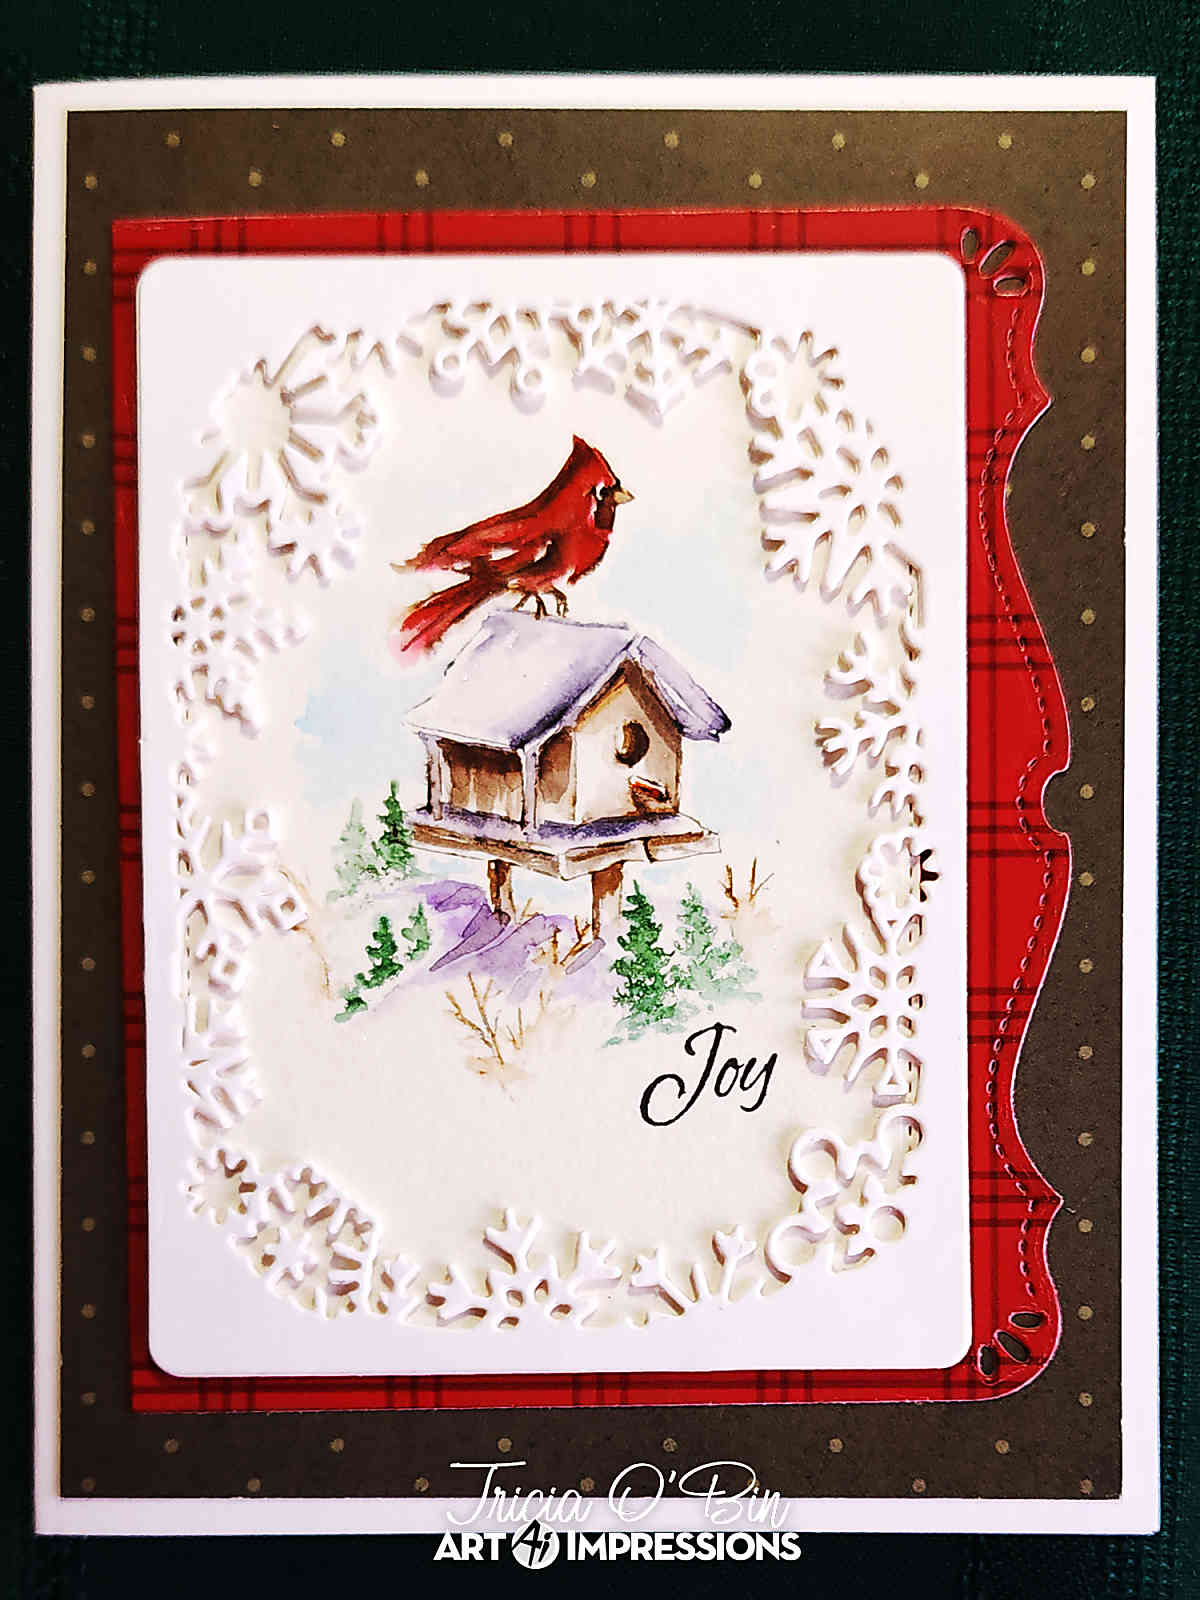
To begin, I started off by inking up the entire stamp with 569. I generally start with 569 when painting snow so that it doesn’t get dirtied up, sometimes that is the look I am going for, and I added some 969 only to the house and to the posts. Using clean water. Adding some water to my brush, I pulled the color from the roof and beneath the house (snowy areas).
TIP: to make a snow mound, turn your paper upside down, run the brush and water along the line to create a highlight. When it dries this will give the illusion of a tall mound of snow - Bonnie has lots of winter videos - check out the Art Impressions Winter Watercolors Playlist.
The stamp begs for additional color to the house and snow, and I was happy to oblige. Remember to leave lots of white space and build your color slowly. To mimic snow mounds (which I am desperately praying for this year) I added some 606 as a shadow under the house. By inking up only the very top of the trees with 249, it gives the appearance they are buried it snow, add some purple highlights below the branch to resemble a shadow. Same with the small tree inked with 969.
For the cardinal, I inked it with 969. In hindsight I would stamp it off once or twice for a lighter image. Start building up your red so you don’t lose your highlights and shadows. I added some really light blue to either side of the image for the sky – don’t go above the top of the birds head or below the house. As always, be sure to sign and date.
For the sentiment, I placed the piece in my MISTI and stamped Joy from the Christmas Sentiments stamp set. Next, I cut it out and glued it behind the Snowflake Frame Die (cut out of white paper 3 times for strength). I cut a mat from the new Christmas PP using the Decorative Journal Page 1 die set, and matted on another piece of patterned paper from that pack.
And that is it, two Christmas Cards done! I hope you share what you are making with us on Instagram or Facebook. Thank you so much for stopping by and spending a little of your very valuable time with me. I really appreciate it and you. I love all of your work. Know that I feel inspired and thankful everyday to be a part of such a beautiful community of creative souls! Have a wonderful Sunday!
Don’t forget to stop by next Weekend to see what Diane Mason has created, I am sure it will be amazing!

Love your artwork. You are so talented. Your snowman is fantastic, and I am partial to cardinals.