It’s such an exciting time at Art Impressions Rubber Stamps. We are back again this week with the release of 6 more brand new watercolor sets. I can’t tell you how much I LOVE all these new sets. It’s also week 2 of the Watercolor Wonders challenge over on the blog. There is still time to enter! I decided to create a Winter Hobbit House.
Join us for Watercolor Wonders Challenge – Week 2 and the roll out of 6 new watercolor sets.
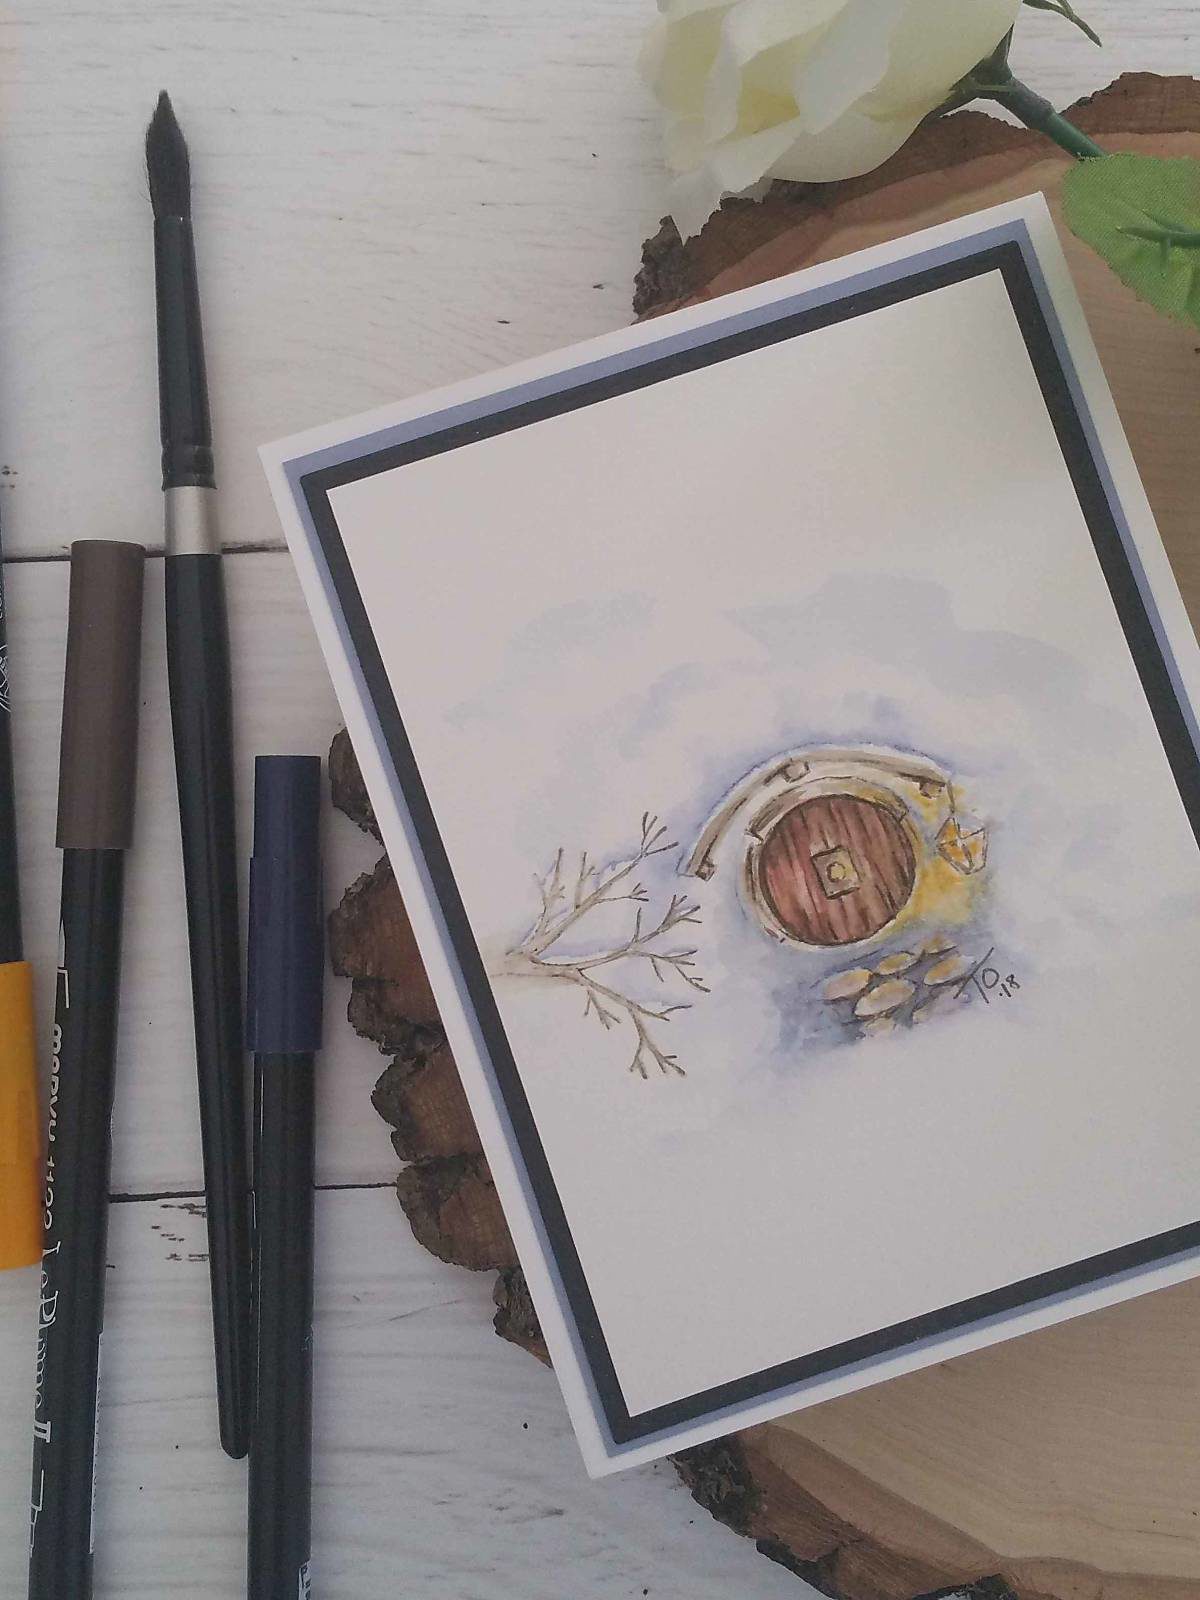
Winter Hobbit House card details:
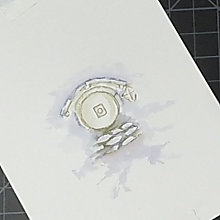
Step 1 – The House
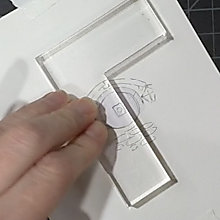
I inked up the Hobbit Door with Sepia and then added African Violet over the Sepia on the cobblestones and to the top of the ledge above the door. I created a mask and covered the door to the Hobbit House.
 Step 2 – Scene Elements
Using my positioner, I placed the small light to the right of the door. I didn’t ink the entire stamp, just the light itself.
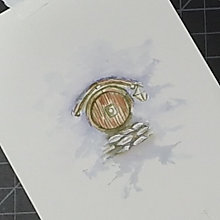
Step 3 -Adding The Water
Using my brush and water, I then pulled the color out of the lines. I added additional color beneath the cobblestones. I added some African Violet to my palette and used my brush and water to create the snow around the house. I wanted it to feel like it was almost completely in a snow bank.
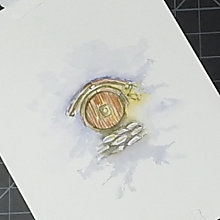
Step 4 – The Door
I added some more Sepia to my palette and added some lines to the door to make it look like wood. I also used the fine point of my marker, I added some shadows to the side of the door and under some of the cobblestones to deepen the shadows.
Step 5 – The Light
In order to create a look of darkness, I used the Brilliant Yellow to add color to the light, around the light, the door and the cobblestones.
Step 6 – The Tree
Next, I inked the top of one of the new Trees with Sepia. Using my positioner, I added the tree on the side to look like a branch. I used some African Violet on my palette to create some snow on top of the branches (negative space painting).
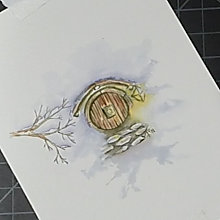
Finishing Touches:
I added a little Wink of Stella around the light. Finally, I cut the piece down to 3.75 x 5 and added it to a piece of Black Onyx and Moonlit Fog card stock. Then I added the entire piece to a top folding base.
Related: https://www.tobinartstudio.com/watercolor-weekend-winter-cottages/
Want to paint along with me? Check out the video!
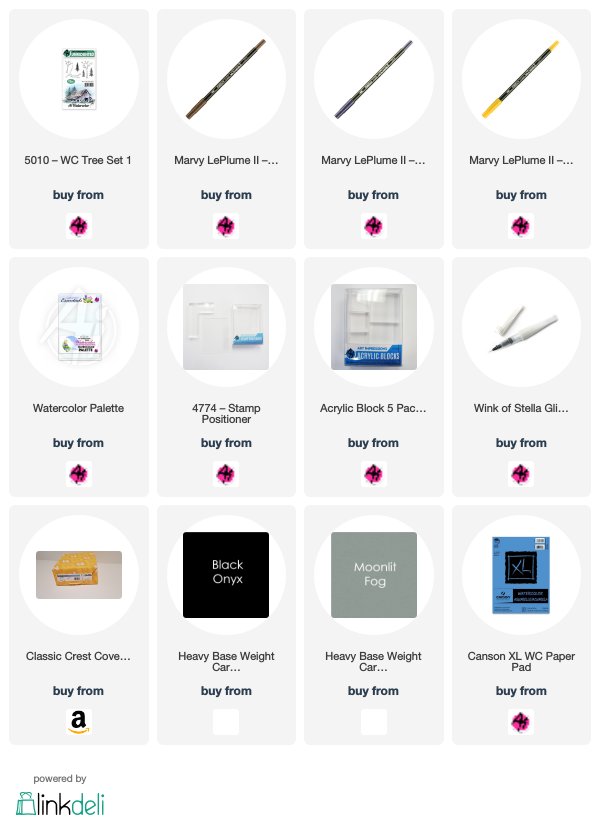
SUPPLIES:
Just started following your blog on Feedly. Looking forward to your AI Watercolor projects. Thank you for the stepped out information on how you created this. I am going to love making Hobbit door cards for my two Lord of the Rings loving adult sons.